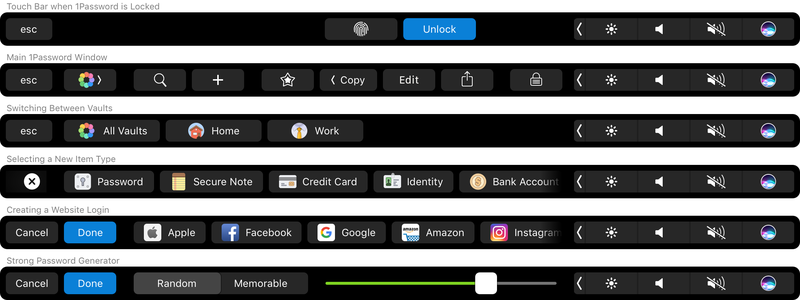
In MacOS Sierra, you can easily take a screenshot of the Touch Bar. Apple has introduced a new shortcut in Mac OS 10.12.2, which allows you to take a snapshot of a specific part of the screen. If you have a MacBook Pro (2016) with Touch Bar, then this tip can be useful for you.
Touch Bar: how to make a screenshot
You probably know how to take a screenshot in macOS. If you want to capture the Touch Bar in a screenshot, it will work in a slightly different way.
The key combination to create a screenshot of the Touch Bar is Command + Shift + 6 (⇧⌘6).
This key combination is almost the same as that of making a normal screenshot. The keyboard shortcut for a full screenshot is Command + Shift + 3 (⌘⇧3) and with Command + Shift + 4 (⌘⇧4) part of the screen can be saved as a screenshot.
See also: iMessage online guide
Two alternative ways
There is yet another way to create a screenshot, wherein it is immediately sent to the clipboard. This is done with Control + Command + Shift + 6 (Control ⌘⇧6). You can then paste the screenshot into another program easily.
A third option is to use the screenshot app. Search Spotlight on ‘grab.app to open this app. Through the menu options, you can point where you want to take a screenshot of.


